Cub Camera
I finally decided to put a camera on my rc plane! I’ll walk you through what I did and have some videos of the first flight with the camera.
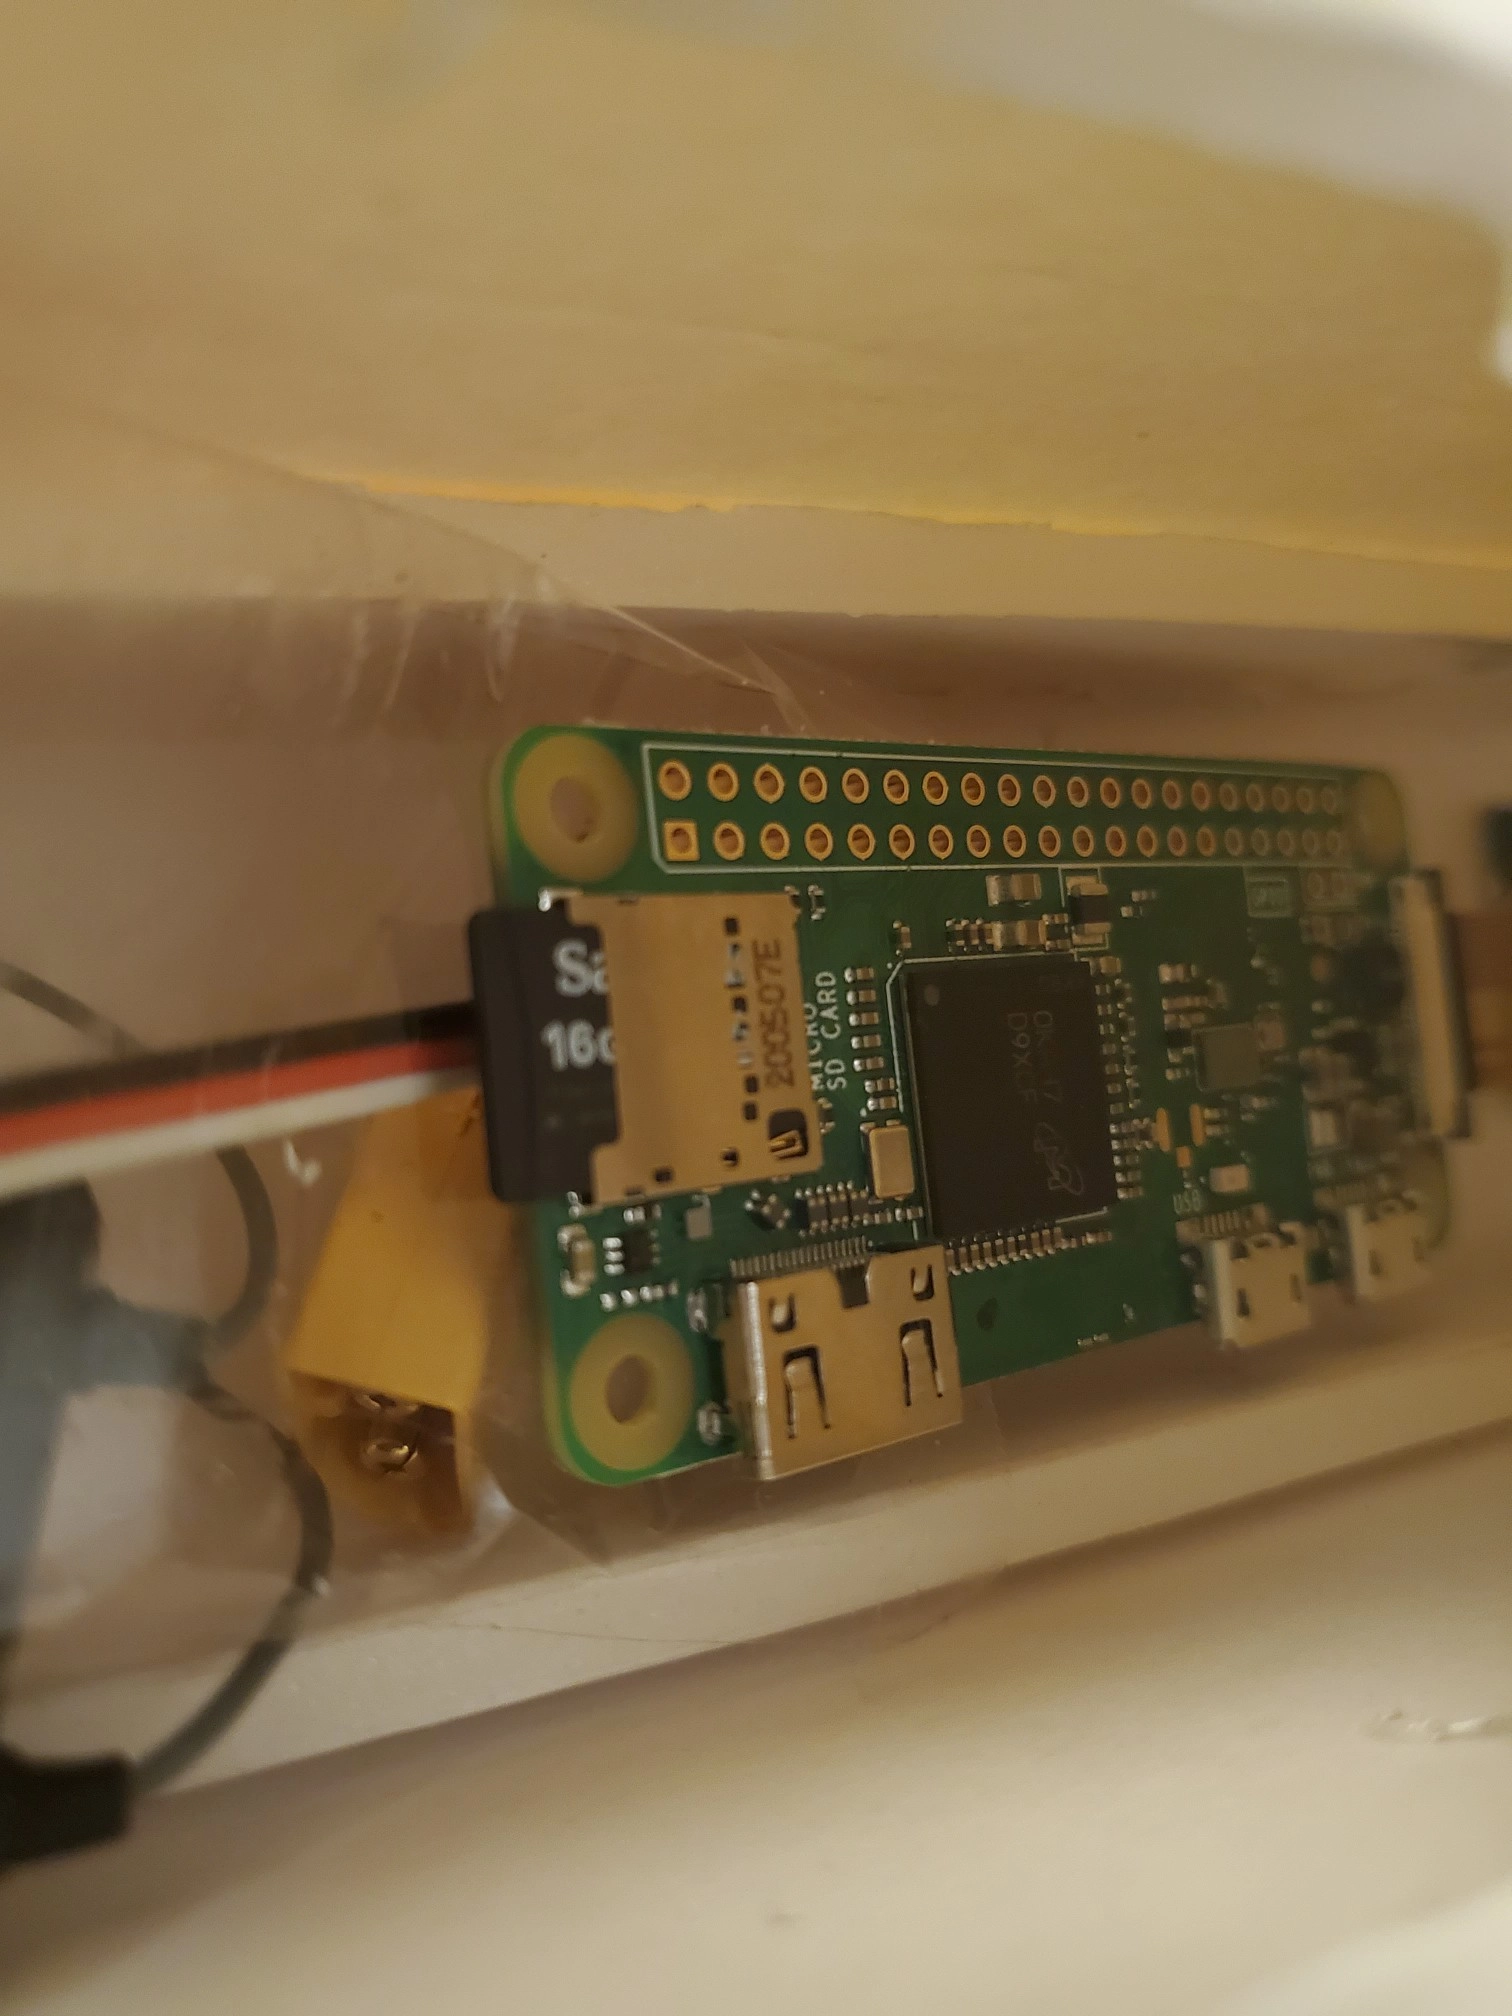
So the first thing I did was bust out my raspberry pi (3 model B) and camera from an old school project. After looking at them and getting it on and took a couple test videos straight from the command line I realized it was too big to fit in the power pod of my plane. I’ve been looking for an excuse to get a pi zero since they came out but never had a real use for one. So in the interest of keeping the weight as low as possible I ordered a raspberry pi zero w. For this project I’m not using the wifi but it’s nice to have for potentially using it for other projects.
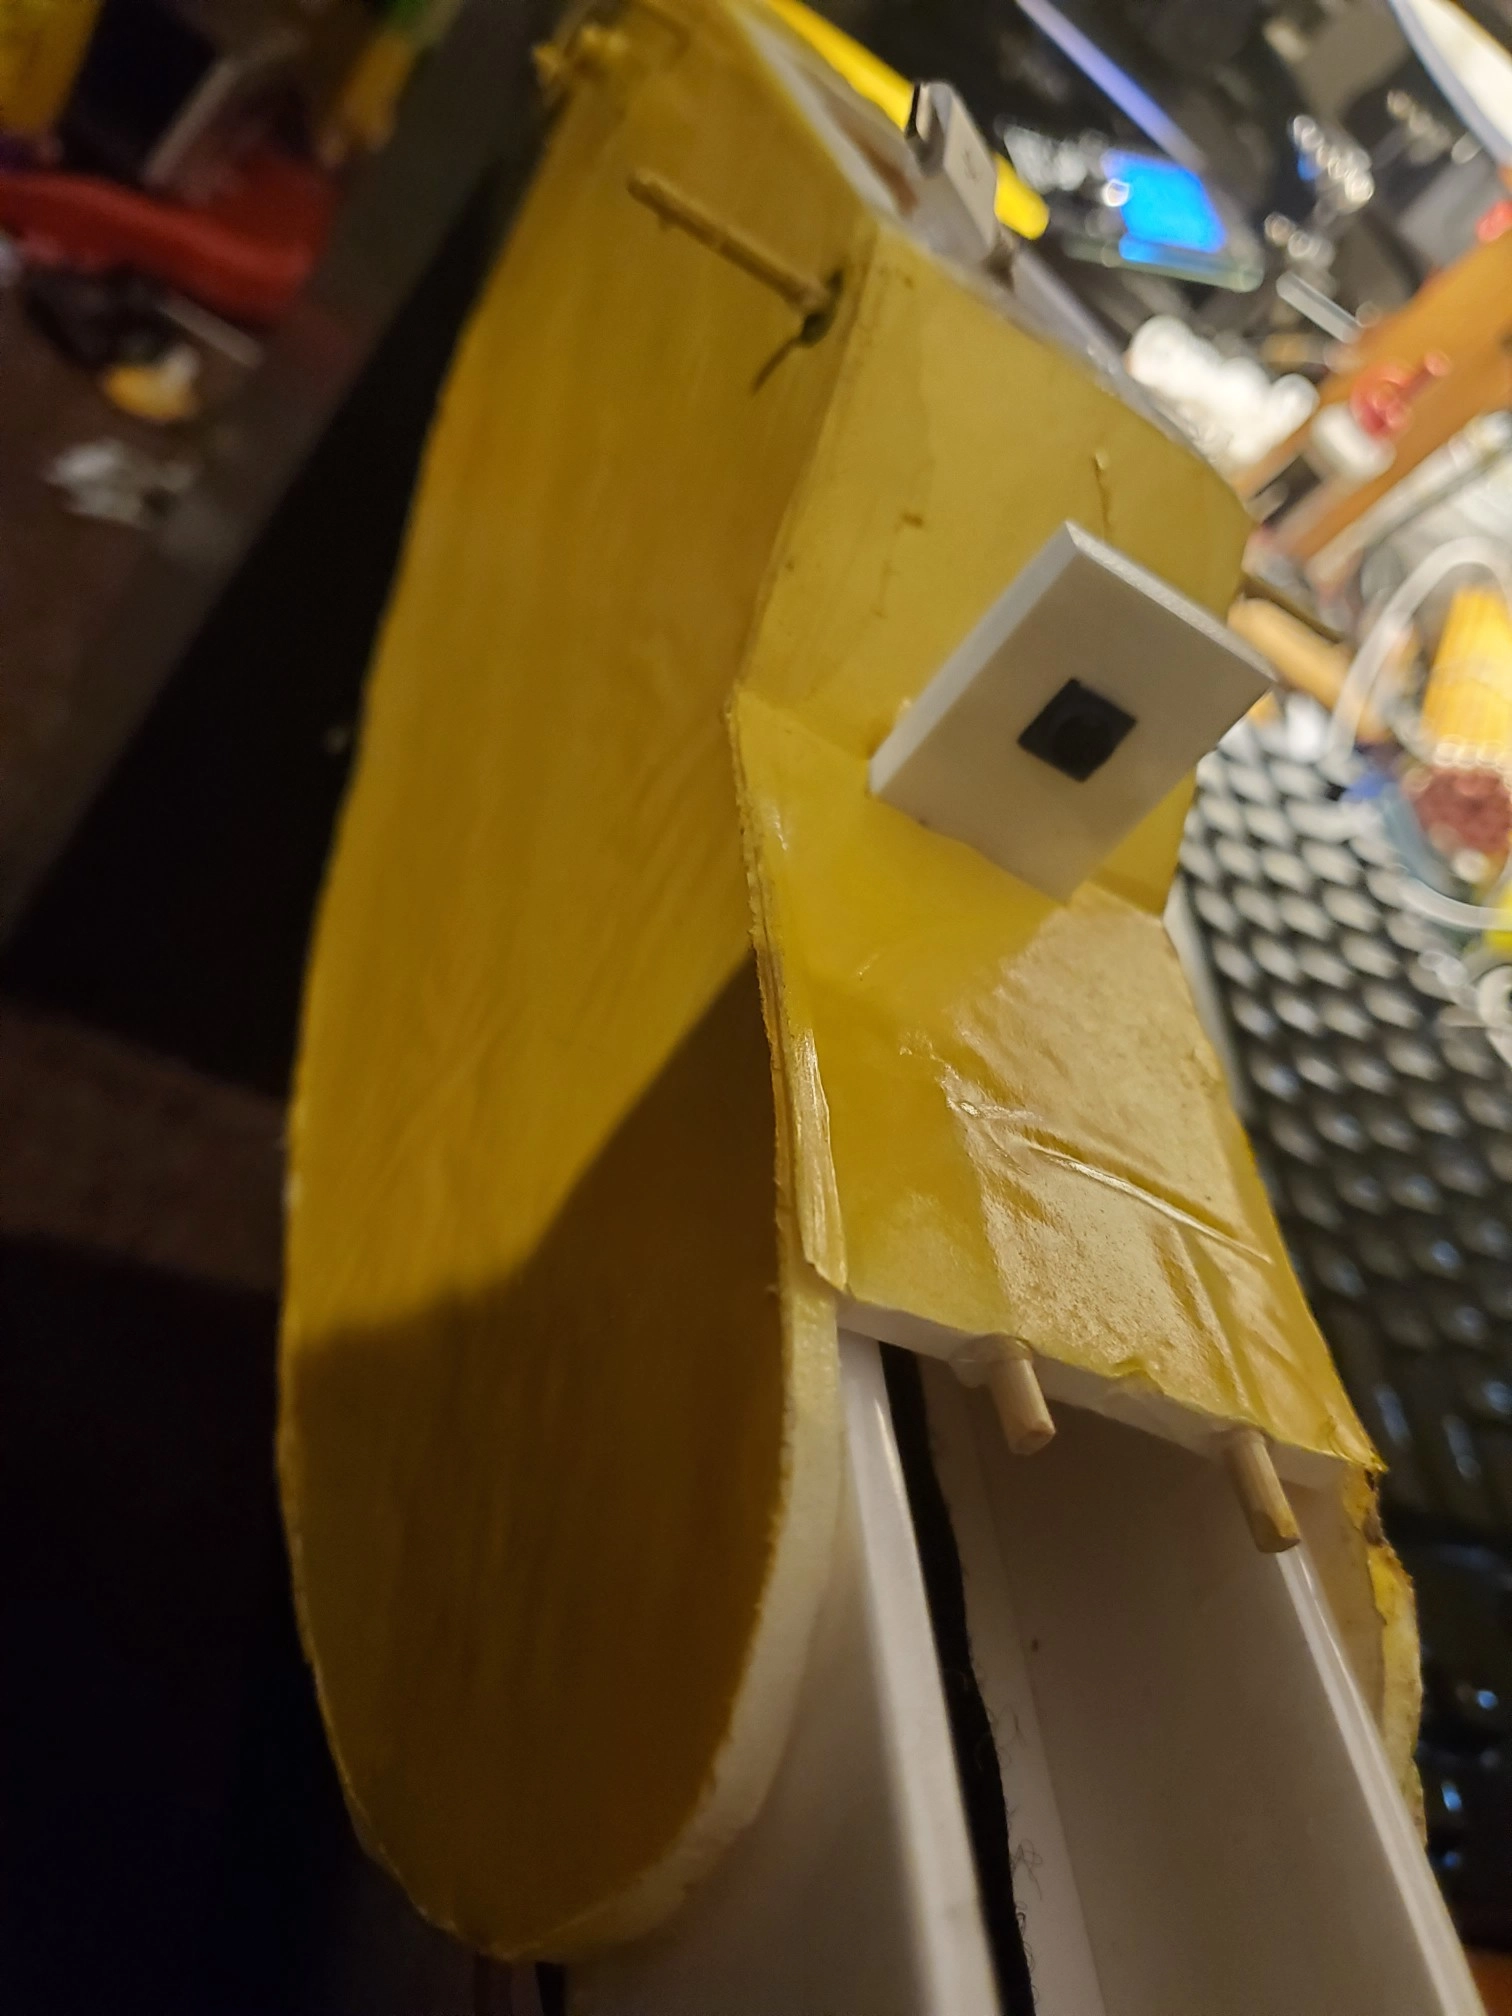
First thing I did was model up a mount for the camera, I used Blender for this. Blender is the only modeling software that I'ved used before in school and it’s free and open source so I’ll likely stick with it. I wanted to mount the camera to near the cockpit of the plane looking over the nose. After taking the measurements from the pi camera and making a friction fit area for it to go into with just the camera sticking out I put a little foot making an L shape so I could glue that part to the plane. Here’s what I ended up with:
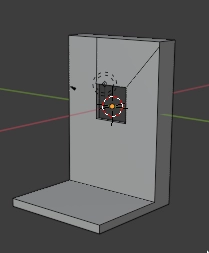
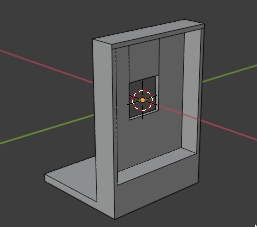
I’m really new to 3d modeling so I’m really happy these came out sized right.
Next part is getting the pi to take the video when it starts up and then store it. I did a two part script so that I could actually process the images while it’s running.
Startup Script
#! /bin/sh

len=30000
while [ 1 ]
do
    /home/pi/vid.sh $len &
    sleep 31s
done
#! /bin/sh

[ -z "$1" ] && printf "Pass video length in miliseconds. 10000ms=10s\n" && exit

ts=$(date +%s)

# Capture 30 seconds of raw video at 640x480 and 150kB/s bit rate into a .h264 file:
raspivid -t $1 -w 640 -h 480 -fps 25 -b 1200000 -p 0,0,640,480 -o $ts.h264

# Convert to mp4
MP4Box -add $ts.h264 $ts.mp4

#move into subdir
mkdir -p video
mv $ts.mp4 video

# Remove the source raw file, leaving the remaining .mp4 file to play
rm $ts.h264
As I wrote that last part I realized I think I could just move the raspivid command into the first script then call the second script to just convert it… I’ll probably try that next time I’m tinkering with it.
Anyway here’s the first flight video it’s not long becuase something was up with the wing, it was knifedging itself the whole time I was out there. I fly it 3 channel but it had ailerons for me to practice with.
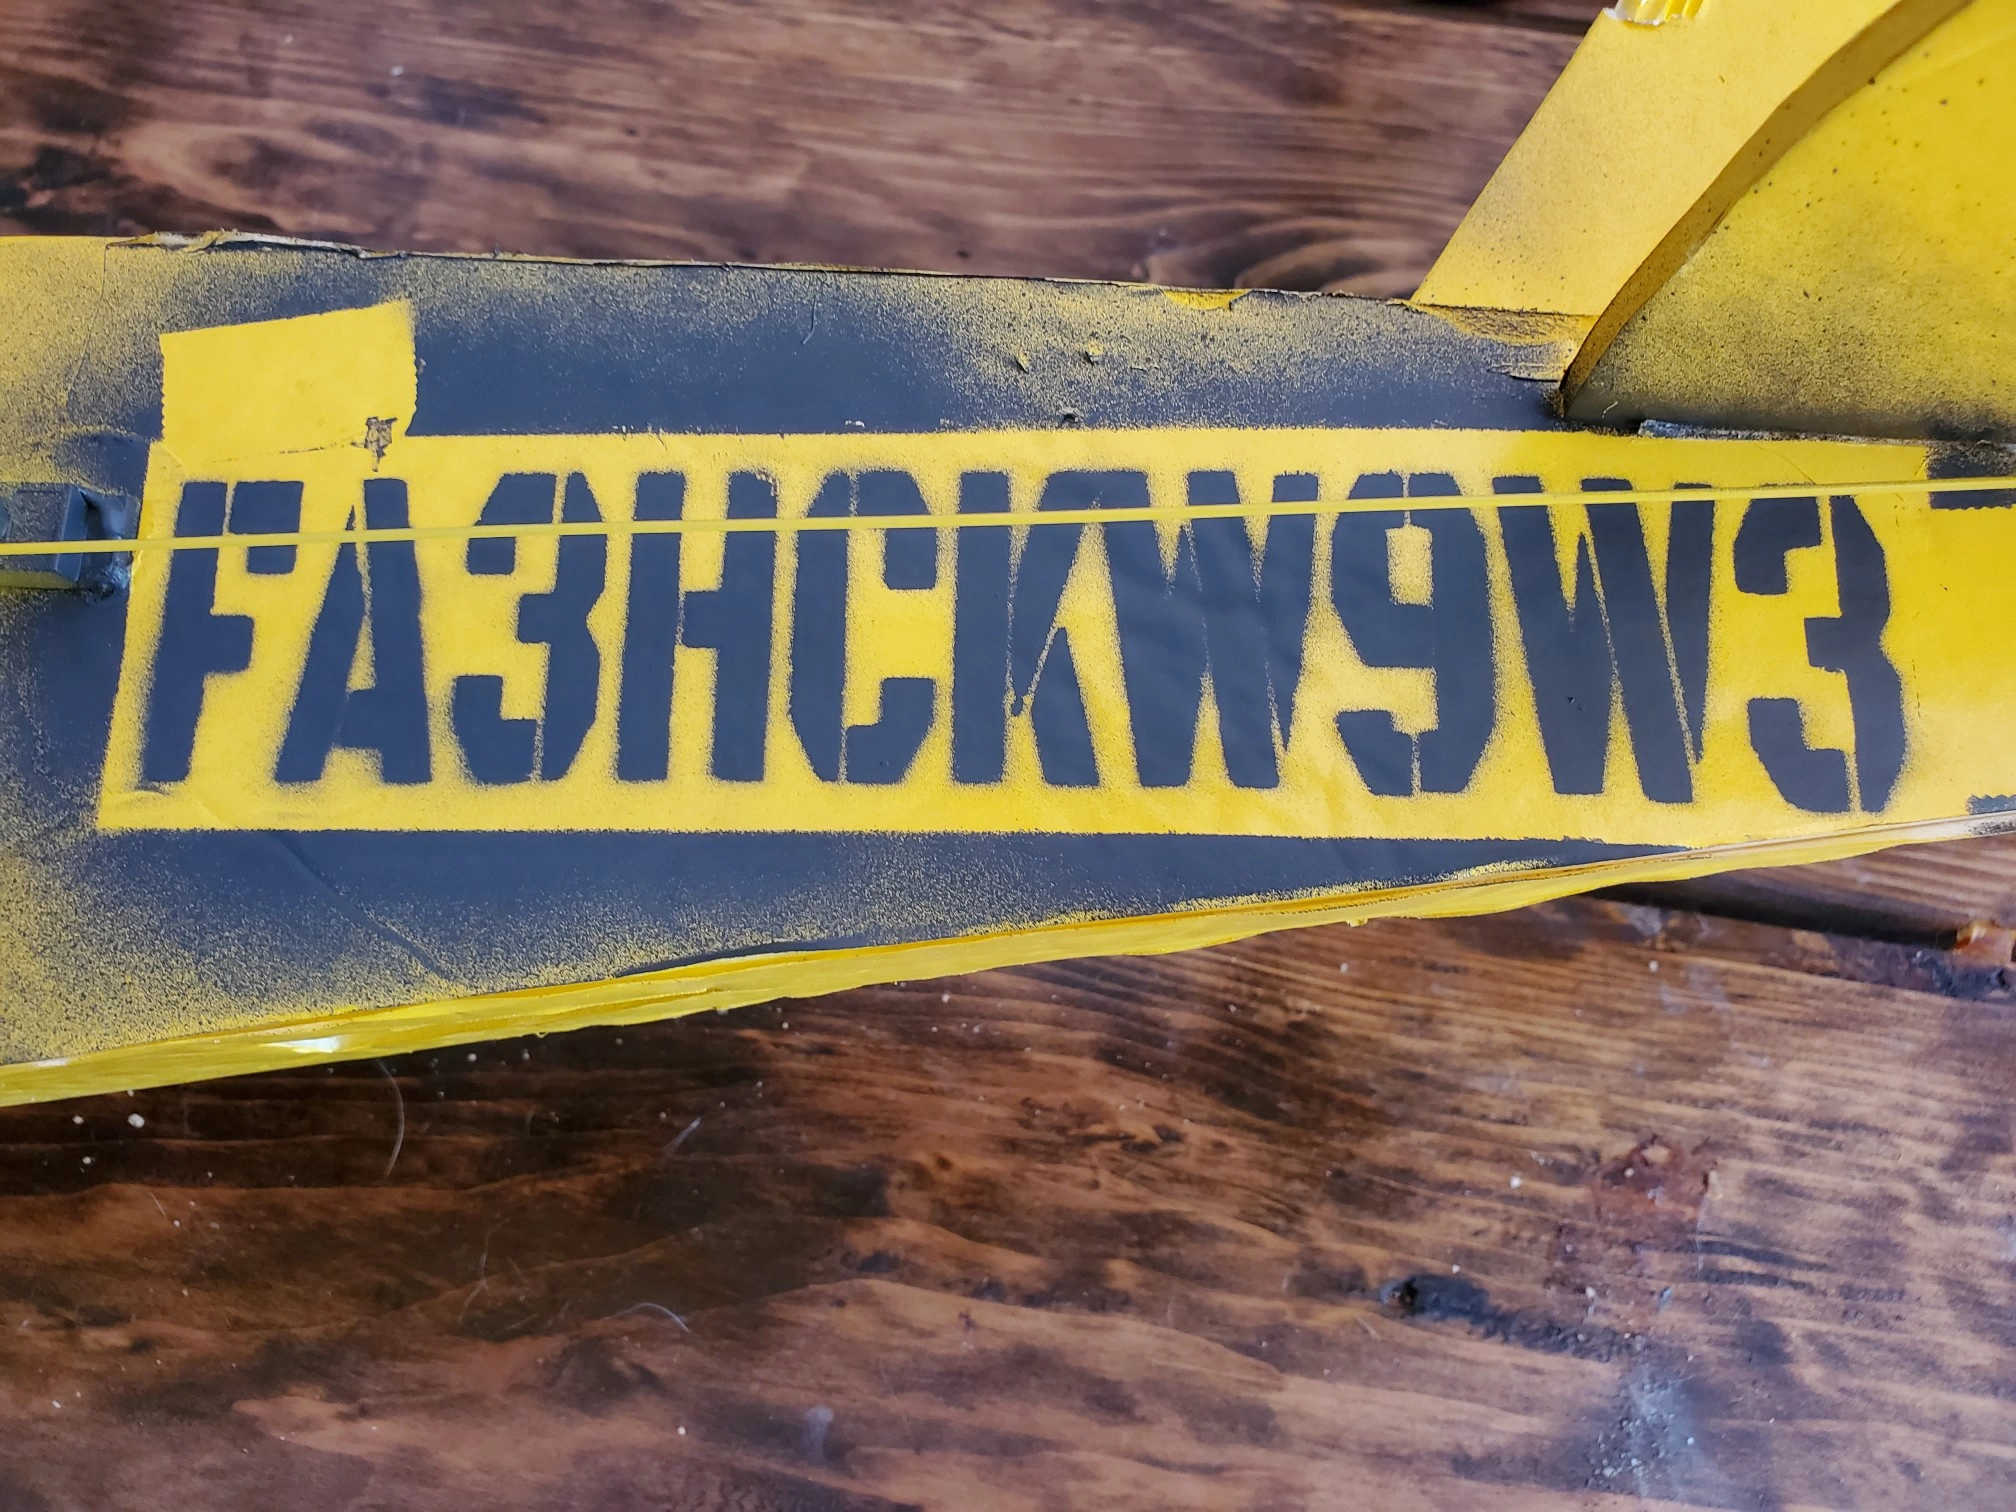
I got it licensed for the camera 🙂
Tags: rc